How To Flash Recovery Images Using Mobile Uncle

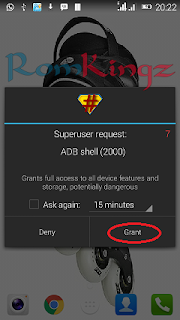
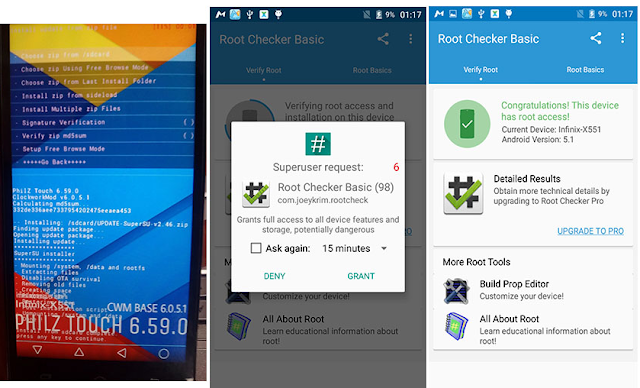
This t utorial will teach how to fla sh recovery images using mobile uncle. If you`ve downloaded recovery image (CWM, TWRP or Philz or any other) and you do not have a PC and want to flash it to your device, here is a detailed but brief information on how to do so using "Mobile Uncle Tool" *Note: You must root your device before commencing this process. Click here to download and root your device using Kingo Android Root or Click here to download and Root with iRoot Download and install MobileUncle Tool from Playstore Download the Stock or custom recovery you want to flash to your device (You can search this blog for that and Ensure that it is compatible with your device). Note the name of the recovery. Launch Mobile Uncle Tools Grant Super User access to MobileUncle Select Recovery Update from the list of options Now select recovery.img file you want to flash and press OK. Mobile Uncle will now flash the recovery to your device. Th...